Vision Examples in the Electronic Device Industry

Typical vision applications for the inspection of electronic devices
The trend toward miniaturization and low-profile design is accelerating in home electronics, including smartphones, gaming consoles and PCs. This has promoted the miniaturization and integration of semiconductors and electronic components, and generated demand for higher inspection accuracy. As high-mix low-volume production and cell production have become common and products have diversified, labor and costs for inspection are increasing.
Electronic components such as IC chips, resistors, capacitors, and transistors are so small that they sometimes must be inspected not only visually but also with microscopes. Labor increases exponentially along with this increase in parts to be inspected. This has led to significant increases in labor and facility costs and reduced production efficiency.
Machine vision has increasingly been introduced for inspection in production to remedy this situation. Machine vision is versatile and can perform multiple inspections simultaneously. They are suitable for the needs of the electronic device industry where high-mix low-volume production and cell production are becoming common.
With the recent availability of high-pixel cameras and high-performance image processing systems, various operations can now be automated, such as appearance inspection, dimension inspection, character/2D code-based identification, and positioning/alignment. Using machine vision also facilitates data management. The ability to build a product management database and conduct factor analysis based on past NG products helps to improve facilities and quality. The following are typical examples of how machine vision has been utilized in the electronic device industry.
Product Presence, Type, and Orientation
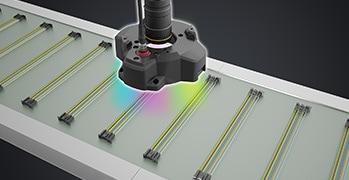
Inspection for the inclusion of different harness types
This is an example of inspection for the inclusion of different harness types.
Key inspection points
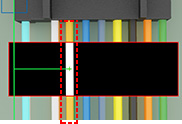
Because it can accurately extract minor color variations, using Multi-Spectrum Mode allows for stable and reliable inspections, even for products with a variety of color patterns.
Recognition result in multi-spectrum mode

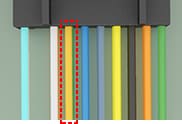
(after color extraction)
Detect presence and orientation of IC chips in carrier tape
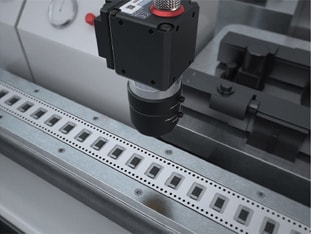
Check the presence/orientation of IC chips in carrier tape using machine vision.
Key inspection points
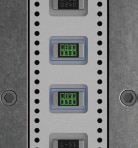
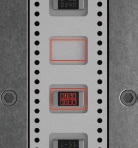
Detects the presence and orientation of IC chips allowing the carrier tape to be advanced to skip any pocket that is missing a part or has product oriented incorrectly.
Recognition result with machine vision
Lead frame coating inspection
Check for the presence of plating on lead frames using machine vision.
Key inspection points
Ensures coating quality by detecting subtle color changes or pealing, even on high-speed production lines.
Recognition result with machine vision
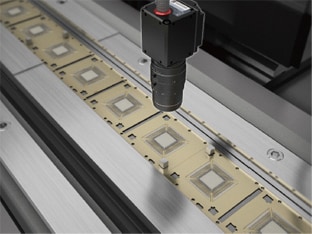
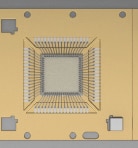
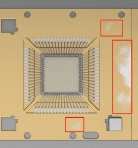
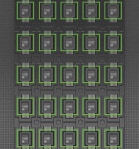
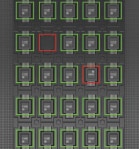
Detect presence and orientation of IC chips on trays
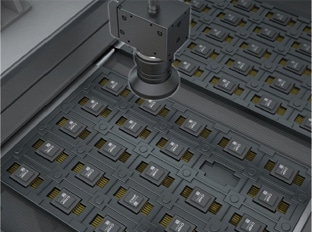
Check the presence and orientation of IC chips on a tray using machine vision.
Key inspection points
Conduct various inspections of IC chips on a tray with a single machine vision. Line scan cameras allow simultaneous inspection of targets over large areas.
Recognition result with a line scan camera
Quality inspection
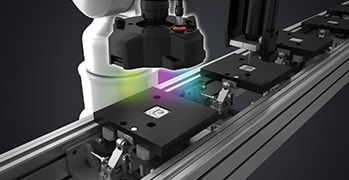
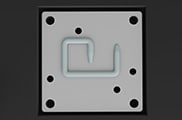
Inspection of adhesive on plates
This is an example of coating condition inspection during the process of applying adhesive to the plate.
Key inspection points
If the adhesive and the background colors are similar, differentiating the colors under conventional lighting conditions is difficult, and there are cases in which the inspection loses stability and reliability. By utilizing Multi-Spectrum Mode, slight color variations can be extracted, allowing the accurate inspection of coating conditions.
Recognition result in multi-spectrum mode
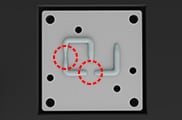
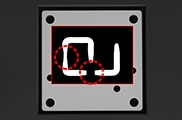
(after color extraction)
Appearance inspection of ceramic devices
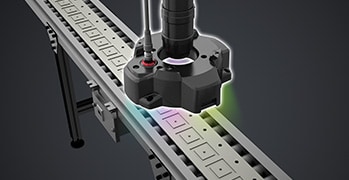
This is an example of an appearance inspection during transport.
Key inspection points
When performing an external inspection for dirt, if the color of minor defects are similar to the product's own color, it can cause the inspection to become unreliable. By utilizing Multi-Spectrum Mode, slight color variations can be extracted, allowing for accurate inspection of only the defects.
Recognition result in multi-spectrum mode


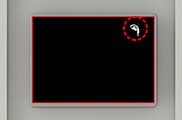
(after color extraction)
Inspection for missing solder on PCB
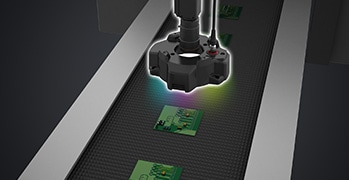
This is an example of an inspection for missing solder on PCBs.
Key inspection points
When using conventional lighting conditions, there are cases in which the extraction of unsoldered portions becomes unreliable. By using Multi-Spectrum Mode, it is possible to accurately extract only the color of the land portion, resulting in stable and reliable inspections.
Recognition result in multi-spectrum mode
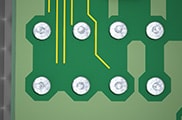
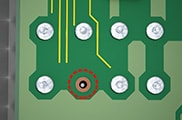

(after color extraction)
Appearance inspection of coil windings
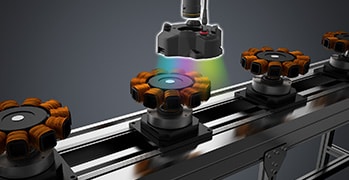
This is an example of the appearance inspection of coil windings.
Key inspection points
For appearance inspection of windings, use of conventional lighting conditions can result in unreliable inspections due to the reflection of the lighting and the color variations caused by the gloss of the windings. By using Multi-Spectrum Mode, it is possible to extract only the faulty locations the are targeted for inspection, resulting in stable and reliable inspections.
Recognition result in multi-spectrum mode



(after color extraction)
External PCB terminal appearance inspection
This is an example of a PCB terminal appearance inspection.
Key inspection points
Under conventional lighting conditions, differentiating the color and gloss of the terminal from fouling or dirt can be difficult. If Multi-Spectrum mode is used, even minor defects or dirt can be reliably extracted for stable and reliable inspections.
Recognition result in multi-spectrum mode
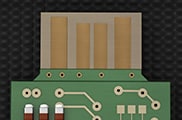
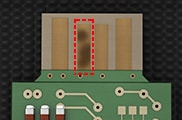
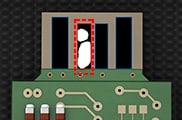
(after color extraction)
Crystal resonator flaw inspection
This is an example of a crystal resonator flaw inspection.
Key inspection points
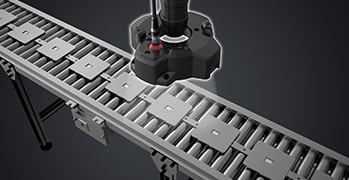
If there is insufficient difference between the inspection target location and the background, inspection of flaws in the profile may become difficult. With LumiTrax™ mode, partial lighting from 4 directions enables extraction of the profile, regardless of color differences, resulting in stable and reliable inspections.
Recognition result in LumiTrax™ mode
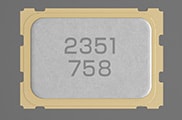
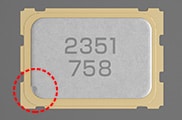
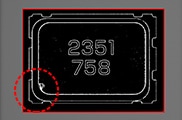
(shape image)
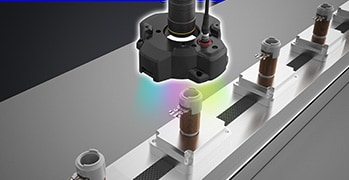
Inspection of coil winding condition
This is an example of the inspection of coil winding conditions.
Key inspection points
Due to the gloss and color variation of windings, extraction of colors under conventional lighting conditions may not be reliable. By using Multi-Spectrum mode, color extraction capability is improved through the use of 8 wavelength's worth of information, resulting in accurate inspection of the condition of the windings.
Recognition result in multi-spectrum mode
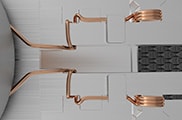
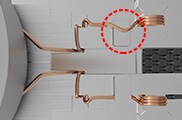
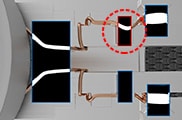
(after color extraction)
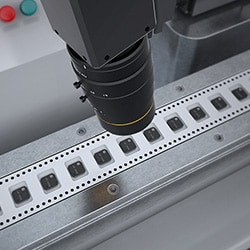
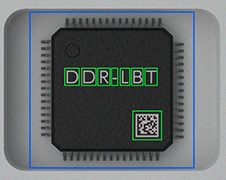
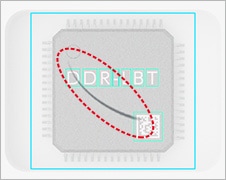
Linear scratches inspection on printed IC chip
This is an example of the linear scratches inspection on printed IC chip.
Key inspection points
The printed text and material on the surface of very small electronic components made it difficult to detect linear scratches. The system cancels out the noise of the material and the printed 2D information. Linear scratches can be reliably detected even on very small components.
Recognition result with a line scan camera
(Specular reflection image)
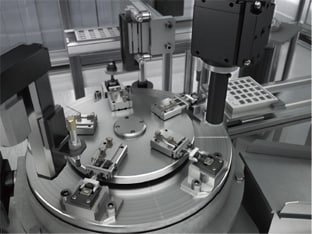
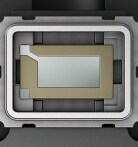
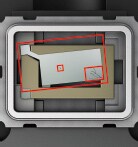
Crystal oscillator defect and position inspection
Check for defective crystal oscillators using machine vision.
Key inspection points
Makes it possible to perform a detailed quality inspection of crystal oscillators by ignoring the influence of texture and individual differences between target.
Recognition result with machine vision
LED defect inspection
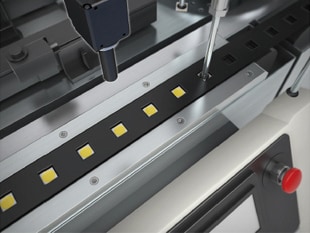
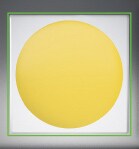
Inspect LED surfaces for defects such as foreign particles or flaws using machine vision.
Key inspection points
Detects foreign particles, linear stains, blisters, flaws, etc. on the surface of LED’s. The high-speed processing can maximize the machine yield rate.
Recognition result with machine vision
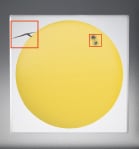
Appearance inspection - printed surface of batteries
Using machine vision, check for appearance defects such as flaws or dents on the printed surfaces of batteries.
Key inspection points
Appearance inspection of battery surfaces to find flaws or dents was difficult because it was hard to differentiate between printing and defects. The LumiTrax function allows detection of just flaws and dents by canceling 2D information such as printing.
Recognition result with machine vision and LumiTrax
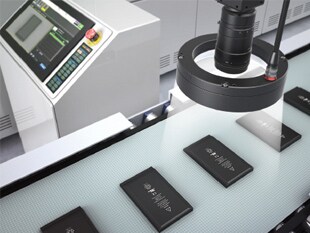

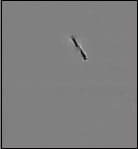
IC mold defect/blister inspection
Check for flaws or bulging on IC molds using machine vision.
Key inspection points
Accurate differentiation of flaws or bulging on IC molds was difficult due to the influence of the texture or glare on the surface. Using the LumiTrax function makes this detection possible. It can detect flaws or bulging only by canceling marked characters.
Recognition result with machine vision and LumiTrax
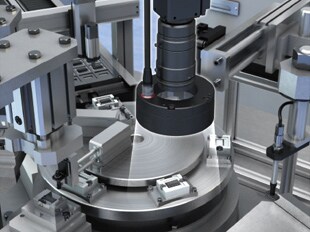
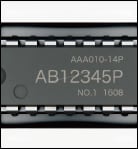
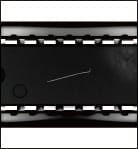
Pinhole/wrinkle inspection of capacitor foil
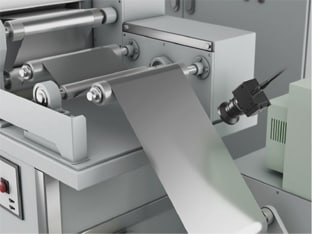
Check for pinholes or wrinkles in capacitor foil using machine vision.
Key inspection points
A line scan camera enables detection of minute pinholes and wrinkles in a moving sheet of capacitor foil.
Recognition result with a line scan camera


Dimensional inspection
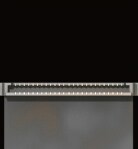
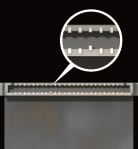
Connector pin coplanarity inspection
Inspect the coplanarity of connector pins using machine vision.
Key inspection points
Detect the light reflected from the tip of connector pins to find minute bends in the pins. A special package of tools for connector inspection eliminates the need for teaching and simplifies inspection settings.
Recognition result with machine vision
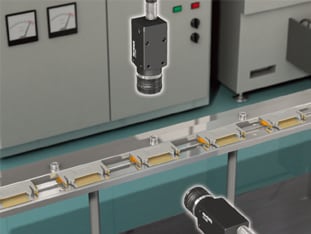
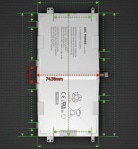
Dimensional inspection of lithium-ion batteries
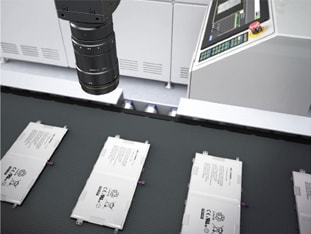
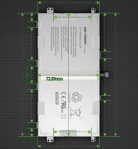
Inspect the dimensions of lithium ion batteries using machine vision.
Key inspection points
Using machine vision, inspect the dimensions and angles of multiple sections of a lithium ion battery. The use of a 21 megapixel machine vision allows high-resolution inspection.
Recognition result with a 21 megapixel machine vision
Positioning/alignment
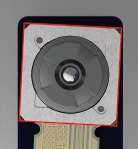
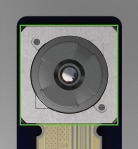
Alignment for mounting of camera module
Ensure the assembly alignment of camera modules using machine vision.
Key inspection points
Using a high-pixel, 16x speed machine vision achieves high-accuracy positioning.
Alignment with machine vision
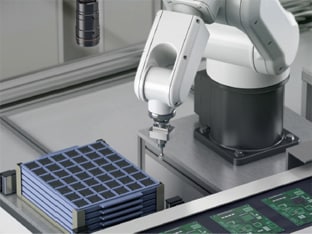
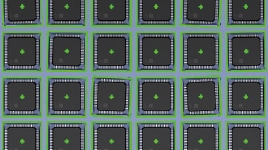
Robotic pick and place of IC chips
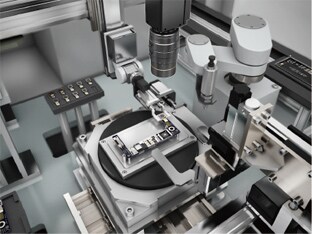
Correct the misalignment of an IC chip picking robot using machine vision.
Key inspection points
KEYENCE's image processing systems support robots from many manufacturers and allow direct connection easily. This can save significant man-hours for startup.
Misalignment correction using machine vision
Detection image
Product recognition inspection
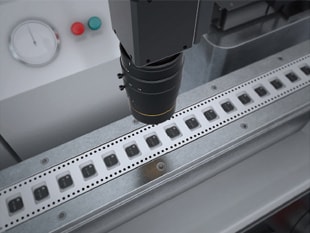
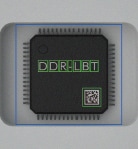
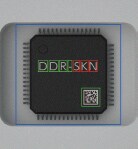
Product type differentiation/2D identification of IC packages
Read marking on the surface of packaged IC chips and differentiate types using machine vision.
Key inspection points
Read the characters/2D codes laser-marked on the surface of IC chips. A single machine vision can recognize both characters, such as part numbers, and 2D codes simultaneously.
Recognition result with machine vision
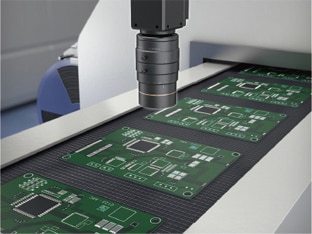
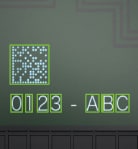
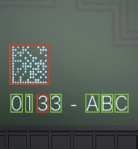
Identification of characters on PCB
Inspect the characters and 2D codes marked on PCBs using machine vision.
Key inspection points
Using a high-pixel machine vision allows an entire PCB to be captured within the field of view. This enables simultaneous inspections to measure connector pitches and other items, as well as to recognize/judge character information and 2D codes.
Recognition result with machine vision
3D Vision inspection
ECU Sealant Coat Inspection
Inspection of sealant breaks, width, and coating area.
Key inspection points
KEYENCE’s Pattern Projection Vision System uses 3D data to create contrast based solely on shape, rather than surface finish or color. Confirm presence/absence, measure width and volume, and detect breaks on sealant and formed-in-place gaskets. Large format lighting available for inspection over a wide field of view.
Recognition result with pattern projection lighting
- A
- Breaking, coating width defects
(color image)
![[A]](/Images/ss_visionbasics_e_electric_055_1962978.jpg)
(height image)
PCB Assembly Inspection
Inspection of pin insertion defects and foreign particles such as fallen objects.
Key inspection points
Along with conventional 2D inspections, such as pin pitch, 3D images can be used to inspect for pin insertion defects by using height data. Fallen objects are also easily detected using the 3D image through simple comparison of a known good part, even with low contrast or background patterns.
* The Inline 3D Appearance and Dimension Inspection Customizable Vision System (XT) is recommended for measuring pin height.
Recognition result with pattern projection lighting
- A
- Pin insertion defect
- B
- Presence of fallen object
(color image)
![[A][B]](/Images/ss_visionbasics_e_electric_058_1962981.jpg)
(height image)
Various Part Inspection Inside Tray
Inspection of different varieties, difference between front and back, orientation, and count
Key inspection points
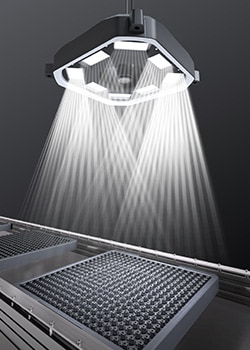
Without height data to identify features, it is difficult to inspect an entire tray where there is little contrast on the parts features and between the parts and the background. If height information from a 3D image is also used, seemingly uniform colors are no longer a barrier to fully inspect the tray. In addition to count, it is also possible to detect different varieties, difference between front and back, and parts that are oriented incorrectly. LumiTrax™ images*1 can be obtained at the same time, which eliminates the effects of ambient light and aids in emphasizing the raised features across the tray.
*1 LumiTrax™ lighting creates two images: one to reduce glare, and one to emphasize height features while ignoring color.
Recognition result with pattern projection lighting
- A
- Different variety present
- B
- Incorrect orientation
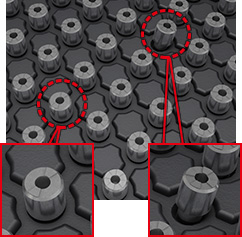
(color image)
![[A][B]](/Images/ss_visionbasics_e_electric_061_1962984.jpg)
(height image)
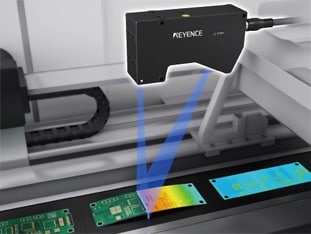
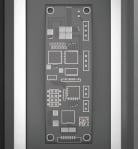
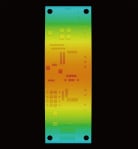
Warpage inspection of PCBs
Inspect PCBs for warpage using a laser displacement sensor and 3D vision inspection.
Key inspection points
Recognition of deformation such as warpage was difficult with machine vision. The combination of a laser displacement sensor and image processing system achieves inspection of warpage of PCBs and presence of mounted components based on height information.
Recognition through the use of a laser displacement sensor and 3D measurement
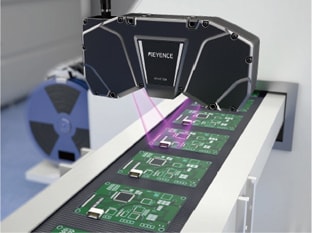
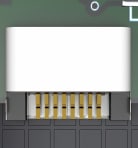
Inspect height and bending of connector terminals
Using a 3D camera, inspect the height of connector terminals or check for bending.
Key inspection points
This allows not only measurement of bending or the pitch of connector pins, but also measurement in the height direction through the use of 3D vision inspection. By using the housing as a reference plane, the system achieves stable inspection regardless of the position or wobbling of targets.
Recognition result with a 3D camera






![A Technical History of Image Processing Vol.1 [Camera]](/img/asset/AS_46814_L.jpg)
![The Latest Image Processing Applications [Transportation Industry]](/img/asset/AS_71759_L.jpg)

![The Latest Machine Vision Inspections [Food and Medical Industries]](/img/asset/AS_72814_L.jpg)
