3D Laser Snapshot Sensor
LJ-S8000 series
3D Laser Snapshot Sensor LJ-S8000 series
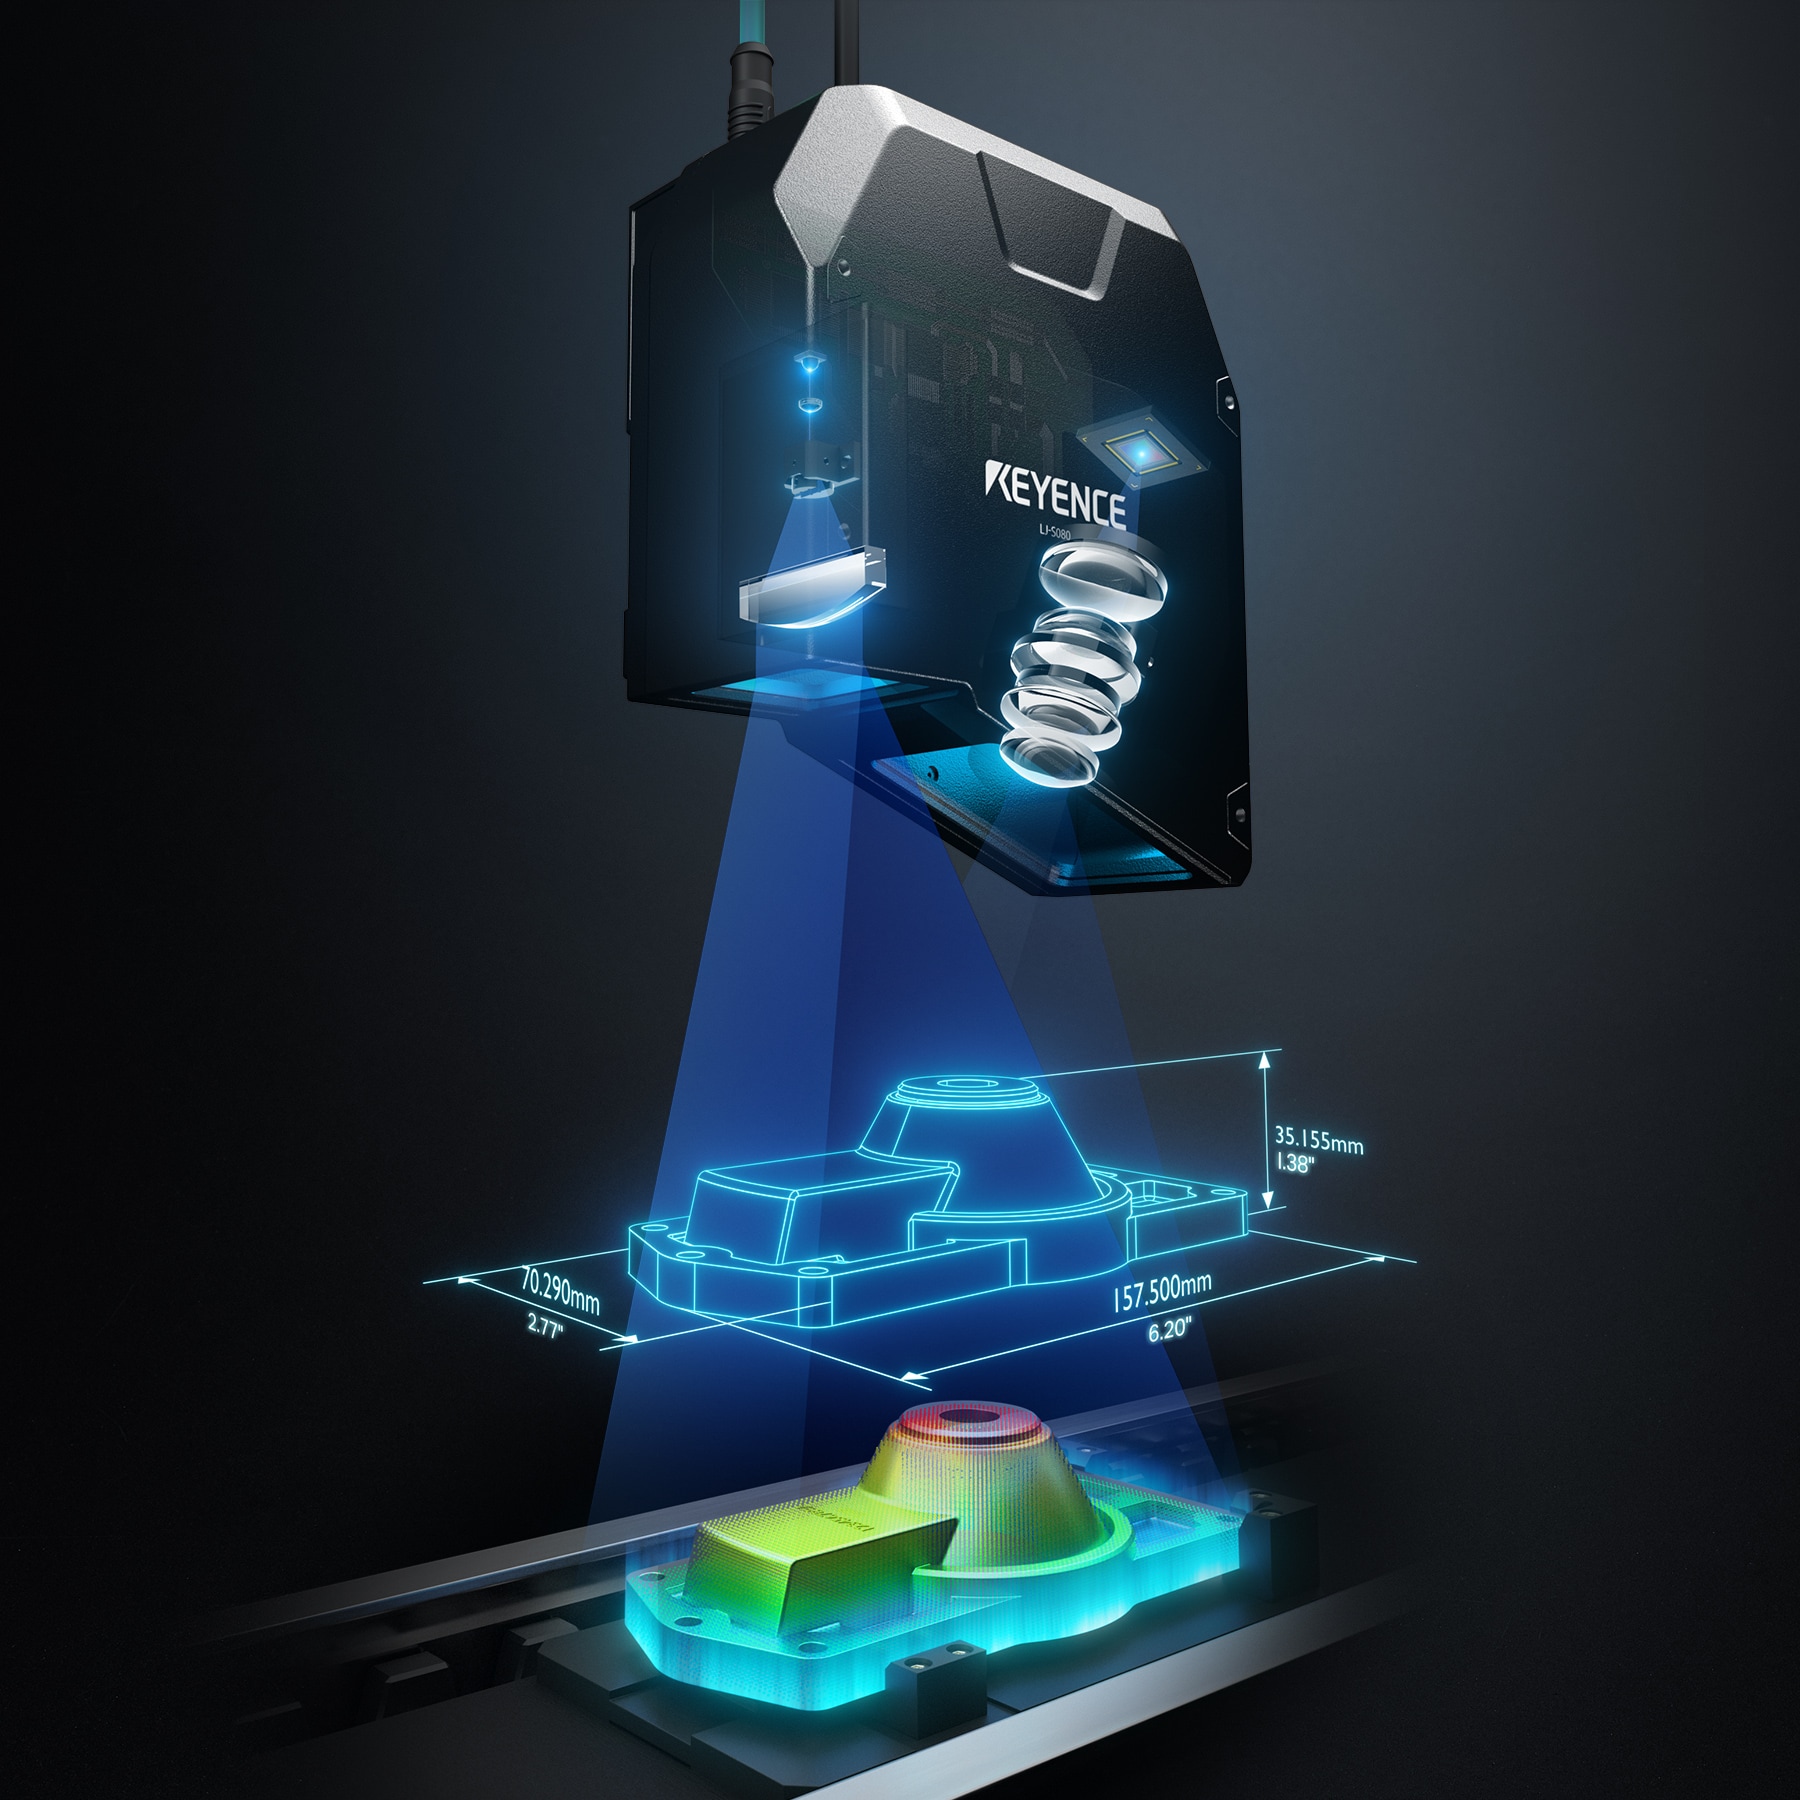
Inline 3D Inspection with Hassle-Free Integration
- Appearance inspection, dimensioning, and detection all in one device
- Extensive range of sensor heads to cover applications with a field of view of up to 640 mm 25.20″
- Fast imaging in as little as 0.2 seconds
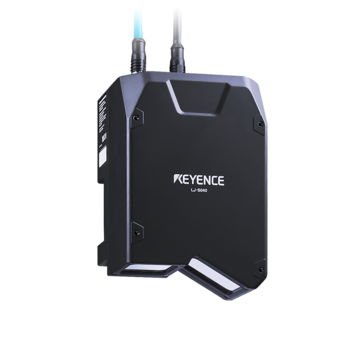
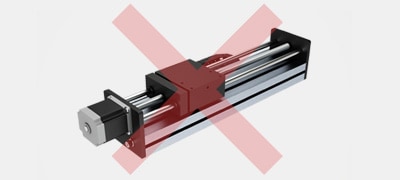
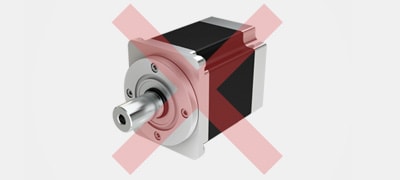
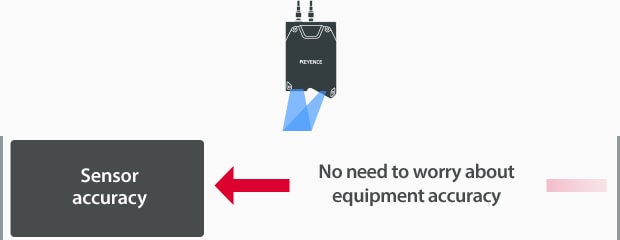
The LJ-S8000 Series 3D Laser Snapshot Sensor is the first in the world to adopt a motor-driven scanning detection method. The built-in laser light source and scanning mechanism eliminate the need for external lighting, lensing, a moving stage, or an encoder. This makes it possible to perform not only inspection (dimensioning, appearance, shape, etc.) but also differentiation just by installing the sensor. Ultra-high-speed, ultra-high-accuracy inline 100% inspections are now possible for a wide variety of targets made from a wide variety of materials with imaging speeds of as little as 0.2 seconds and repeatability of 0.3 µm. Meanwhile, KEYENCE’s Imaging Navigation function makes adjustment as easy as selecting the image with the best quality, eliminating the need for specialized skills and significantly reducing the time and effort needed at startup or when reconfiguring settings.
Features
World’s First Profiler with Built-In Scanning Mechanism! Highly Accurate, Stable Inspection With No Need for Troublesome Adjustments
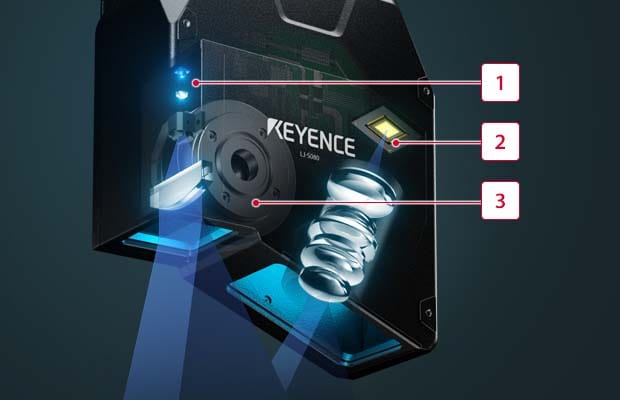
The LJ-S Series utilizes a one-of-a-kind design that allows for scanning of parts by moving the components internally and eliminating the need to move the part of sensor head. This not only makes installation a breeze, but also creates a large depth of field.
-
1High-intensity blue laser
The high light concentration density and sharp image-forming beam enable high inspection accuracy. -
2High-resolution CMOS
-
3Brushless direct-drive motor
The unique brushless design ensures ultra-high durability of the direct-drive motor.
No Lighting, Motion, of Encoders Needed
No lighting required
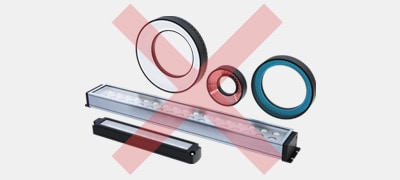
No stage required
No encoder required
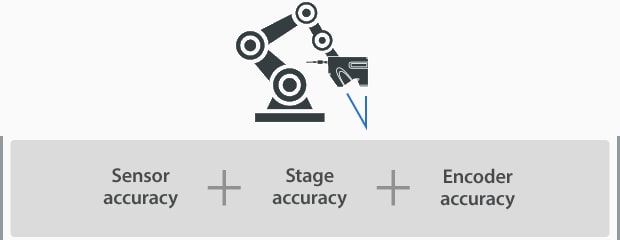
Simplified Setup Helps Maintain Accuracy
Conventional profilers
LJ-S8000 Series
All-In-One Measurement and Inspection, Beneficial for Countless Applications
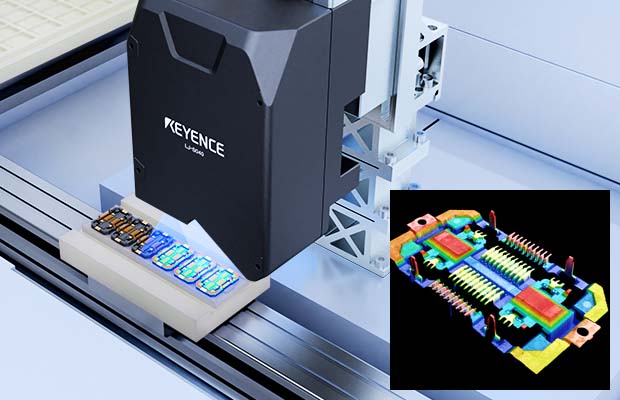
Connector terminal coplanarity measurement
Advantages of 3D Inspection
3D dimensional measurements:
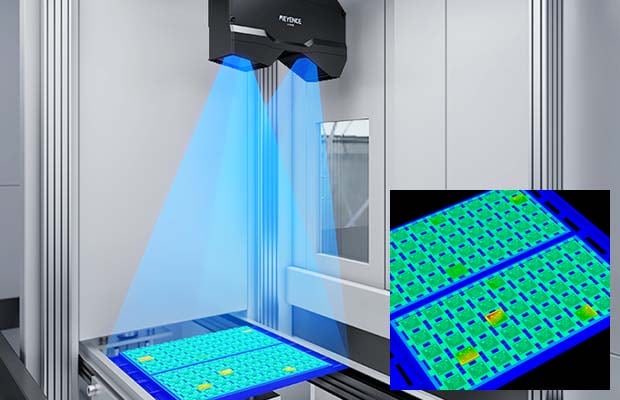
Unlike conventional vision cameras, which only look at grayscale information, 3D profiling also considers height information to enable highly stable results.
A wide variety of measurement tools are available, including height, flatness, position, width, area, volume, angle, and GD&T measurements.
3D appearance inspection/identification/differentiation:
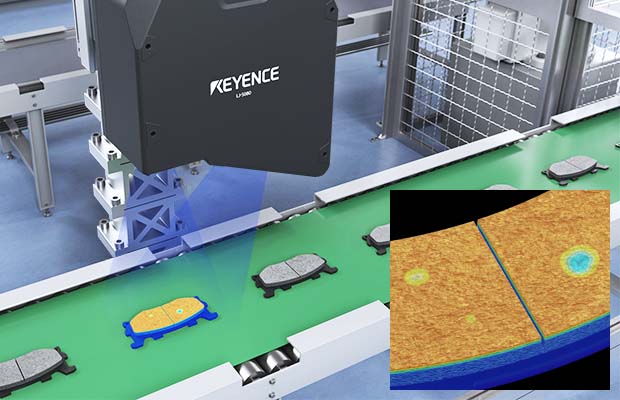
“Height-based images” that use changes in color to show height differences make it easy to detect uneven surfaces and other conditions regardless of markings, patterns, or other target surface features. Grayscale images are also captured at the same time, allowing for even greater stability and use in a wide range of applications.
Taking Inline Visual Inspection into the Next Dimension
Flat Contrast-Based Visual Inspection
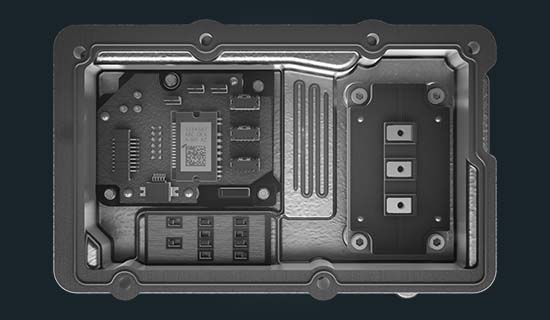
- No height or depth measurements
- Results are affected by focus and background patterns
- Unstable inspection when there are subtle variations in shading
3D Height-Based Visual Inspection
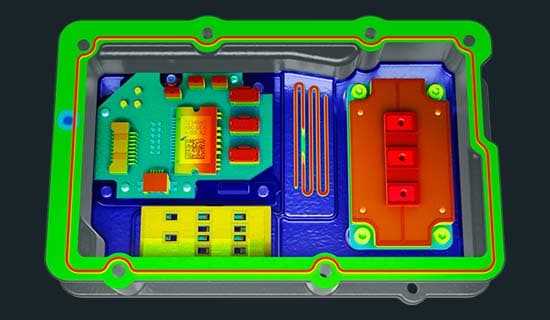
- Width, height, area, and volume measurements are possible
- Results are not affected by focus or background patterns
- Stable inspection of similarly colored uneven surfaces
Select From a Lineup Designed to Meet All Application Requirements
LJ-S015
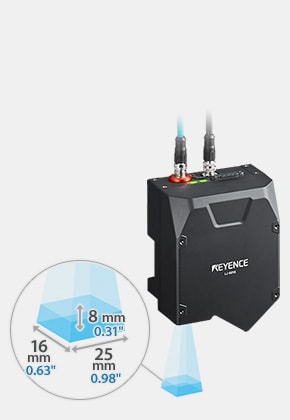
Repeatability
Z-axis (height): 0.3 µm 0.000012″
LJ-S025
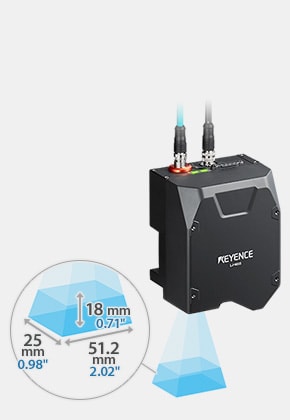
Repeatability
Z-axis (height): 0.4 µm 0.000016″
LJ-S040
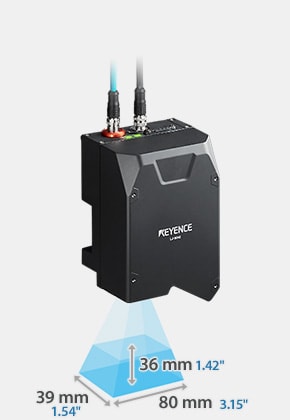
Repeatability
Z-axis (height): 0.5 µm 0.000020″
LJ-S080
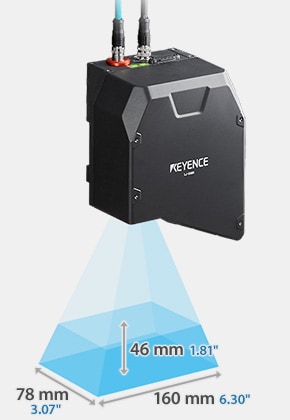
Repeatability
Z-axis (height): 1 µm 0.000039″
LJ-S160
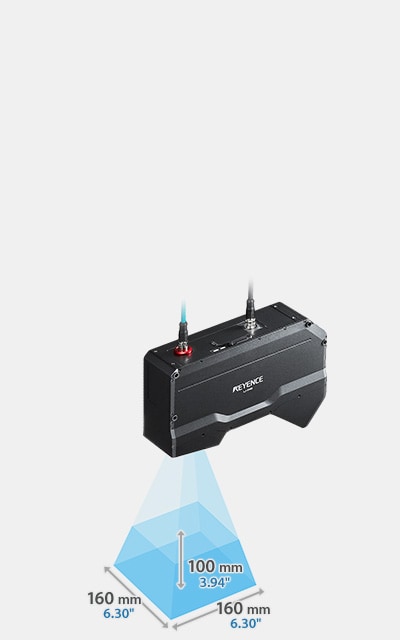
Repeatability
Z-axis (height): 3 µm 0.000118″
LJ-S320
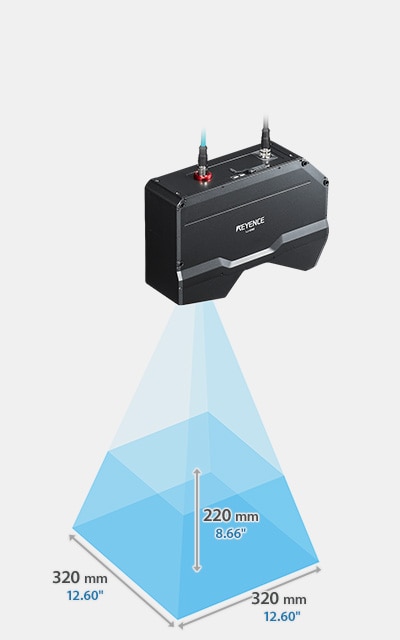
Repeatability
Z-axis (height): 5 µm 0.000197″
LJ-S640
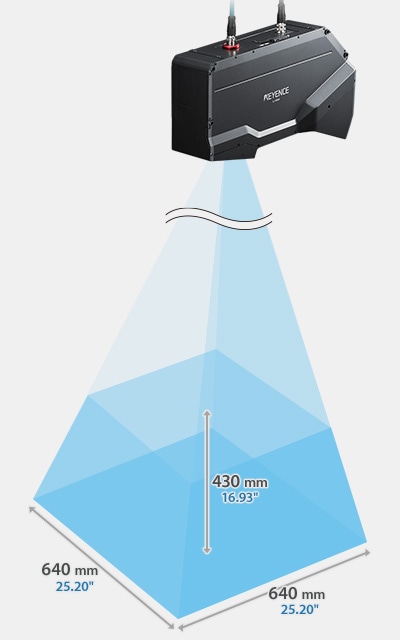
Repeatability
Z-axis (height): 10 µm 0.0004″

