Optical Comparator (Profile Projector)
Perfect Parts for High-Quality Finished Products
Since 1950 Mi-Me has specialized in the production of precision blanked parts: arc welded contacts, assembled parts, co-molded parts, etc. exported to major markets worldwide.

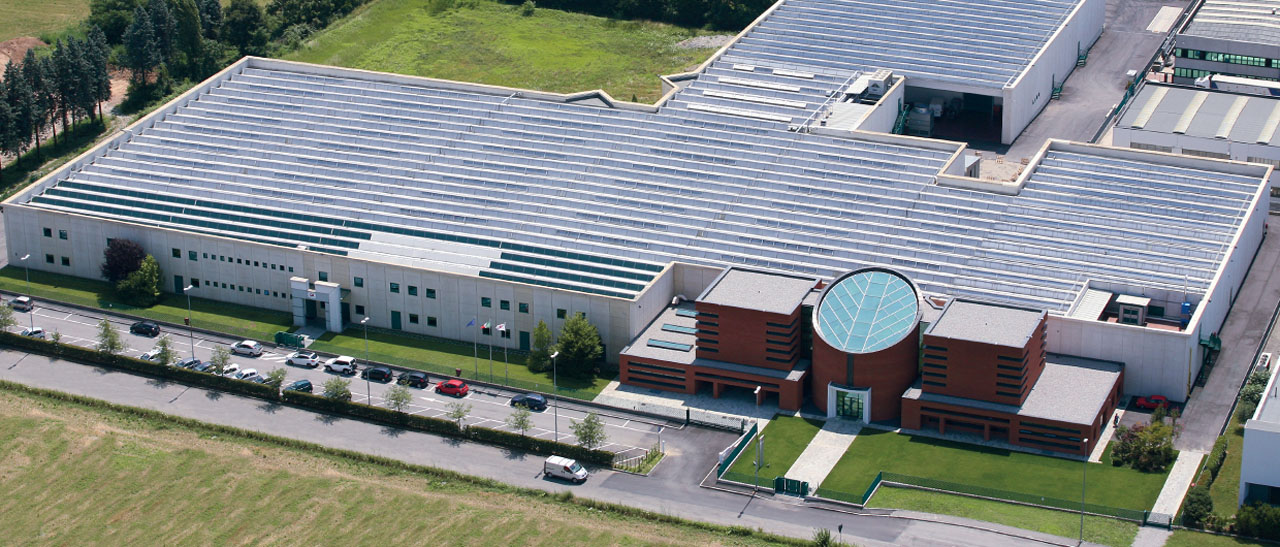
The new premises of Mi-Me in Bornate Sopra (Bergamo) was inaugurated in 2001: a futuristic complex which is also striking for the 1,800 photovoltaic panels installed on its roof.

After having initially produced metal wire forms, Mi-Me subsequently focused on metal stamped parts with precious metal coating. In 1964, the company moved from its premises in Lecco to Presezzo (Bergamo) where, in the ‘80s, it took an important step forward by beginning a collaboration with a long-established German producer of electrical contacts. The new plant in Bonate Sopra (Bergamo) was inaugurated in 2001, and where the executive headquarters moved to in 2011. Thanks to a recent expansion, the area now covers approximately 20,000 square meters: a futuristic complex for the 1,800 photovoltaic panels installed on its roof. Today, Mi-Me generates a revenue stream of over 28 million dollars, has over 110 employees, and 80% of its sales are in North America. Placed in the sector of high level subcontracting, the company produces customer-designed precision complex stamped parts destined for a wide variety of industries: from the electricity and electronics sectors, to the home electrical appliance and automotive fields. By using sophisticated CAD / CAM systems, the R&D department designs all the tools necessary for the production of parts ordered by customers.
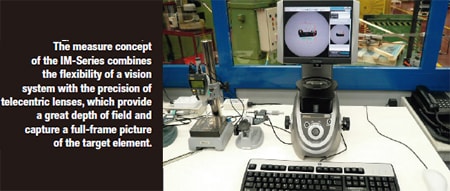
“Our mission is to provide products and services which meet our customers’ requirements, expectations and needs,” says Antonio Felotti, Quality Control Manager at Mi-Me. “This is achieved through high-quality, raw materials chosen in accordance with reference standards, the use of advanced equipment, attention to technical details from the design process to the manufacturing stage, and our efficient storage and shipping services.” In particular, Mi-Me has implemented and actively maintains an Integrated System of Quality- Environment in compliance with the requirements of the automotive ISO / TS 16949 (UNI EN ISO 9001) and UNI EN ISO 14001 standards. Also, precisely in this area, the company has recently adopted two dimensional measurement systems, KEYENCE’s IM-Series. The Instant Measurement system was designed on the concept of doing away with archaic measurement practices that were limitations of the technology of their time. Imagine yourself walking up to a glass stage, placing a handful of parts in any orientation anywhere on the stage, and pressing a button. The system has the ability to identify the part and measure up to 99 dimensions per part on up to 99 parts on the stage at once. The system will automatically adjust the lighting, focus, and orientation the program to match each part on the stage, compares it to pre-programmed tolerances, measures with +/- 5 micron accuracy, produces a pass or fail for each dimension, and saves the data locally or to a network. Finally with one more button press, it prints out a full inspection report. All of this being accomplished in 3 seconds.

“We use the KEYENCE Instant Measurement (IM) system especially on flat pieces,” explains Mr. Felotti. “Our choice was motivated by the characteristics of speed and accuracy provided by the IM-Series. We went from total measurement time on flat pieces of 15-20 minutes to finishing batches in 3 minutes. The IM system allows us to measure 5-10 parts at a time without requiring any type of reset.”
Before buying the two IM measurement systems, Mi-Me was using a camera system. “However, our measurement processes required a reset after placing the piece, as they needed to recognize an origin and an alignment to be able to start a measurement series,” emphasizes Mr. Felotti. “That kind of operation required a quality operator with a greater degree of expertise. In addition, it took longer to place the part. However, for a company like ours that works at a high speed and with a high volume of parts, speed was crucial also during inspection.”
The absence of reset operations allowed by KEYENCE’s IM systems led, in turn, to a greater ease of use. “Since Quality Control prepared the measurement program, even a production worker without specific knowledge can perform the dimensional inspection,” reports Mr. Felotti. “Just place the parts and press a button; the machine automatically measures all of the specified dimensions and locates any pieces that are out of tolerance. Once the necessary program is set, the operation is very easy.” Mi-Me typically measures dimensions with tolerances of about +/- 0.01 mm.
It should be noted that, in the case of pieces out of tolerance, re-machining is not possible. Since inspection is performed during production according to determined control plans, thus at defined frequencies and samples, it is crucial to immediately detect any possible defects. “As soon as a defect is identified, the operator must stop the machine,” says Felotti. “We can therefore experience a short period of production down time, but not the whole day or the entire order, which is costly. The KEYENCE system allows us to immediately detect defects.”
“After becoming familiarized with the IM system, we compared it to the other offers we had received,” adds Mr. Felotti. “We liked the KEYENCE solution also for the high-quality/price ratio. In addition, KEYENCE has kept its promise by providing excellent after-sales service and especially during installation. We are now totally independent in the programming of parts.”
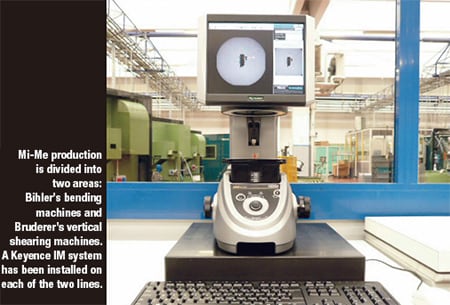
Mi-Me production is divided into two areas: Bihler’s bending machines and Bruderer’s vertical shearing machines, which produce parts with different characteristics. A KEYENCE IM system has been installed on each of the two lines. Mi-Me is now definitively moving from traditional 3D inspections to the new technology of KEYENCE’s dimensional inspection. Where possible, the company is also remodulating some of the parts’ dimensions precisely in view of redesigning the control plans according to the new tools. The ease of use and capabilities of the IM-Series results in a substantial cost saving compared to traditional measurement processes.


