Measurement Sensors
Dimension Measurement
Displacement Measurement
Inner and Outer Diameter Measurement
Inner diameter (ID) and outer diameter (OD) are two key measurements associated with cylindrical objects—particularly those cylindrical or spherical objects that are hollow. This includes pipes, tubes, and bearings. Understanding these measurements is rather important for a variety of applications in various industries, including manufacturing and construction.
Outer diameter measurements can be performed at a single position, in multiple axes, or across an area to understand ovality and min/max OD. Similarly, there are varying levels of inspection available for inner diameter. You can browse the most common methods for measuring OD and ID below, or feel free to request a consultation with a local measurement expert.
Choose Case of Inner and Outer Diameter Measurement
What Is Inner Diameter Measurement?
In simple terms, the inside diameter is the maximum distance across the inside of an observed cylinder, the diameter of the space within the hollow cylindrical or spherical object. As such, the diameter has to pass through the center of the spherical or the centerline of the cylindrical object.
This particular measurement is very important in considering the flow capacity of tubes and pipes or fitting parts inside a cylinder. Inner diameter measurements are also very important when it comes to determining the thickness of cylinder walls.
How to Measure Inner Diameter
Traditionally, inner diameter measurements were done with hand tools like vernier calipers, inside micrometers, telescope gauges or bore gauges. While these tools offered high levels of precision, they also required time and expertise... making them susceptible to human error.
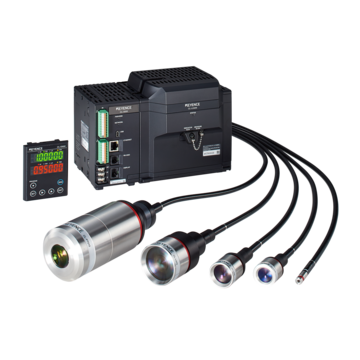
Today, measurement sensors like laser scanners and optical comparators are commonly used to measure ID/OD. These sensors are highly accurate and work well for difficult-to-reach and contact-sensitive applications.
Inner Diameter Measurement Examples:
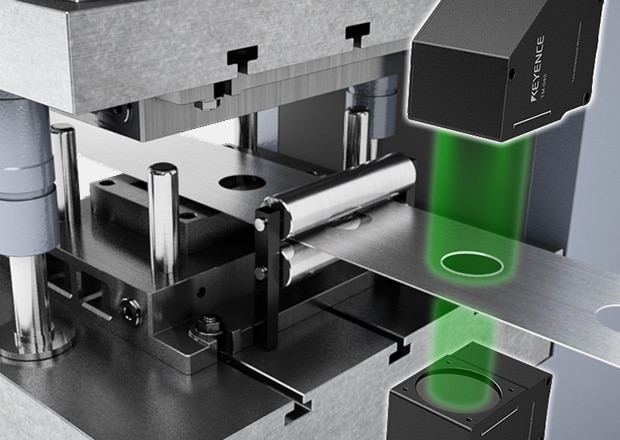
Measurement of Bore Diameter After Press
The inner diameter is measured from the image obtained using the 2D optical projection method.
Even if the target shifts within the measurement range, radius can be correctly measured using the position correction function.
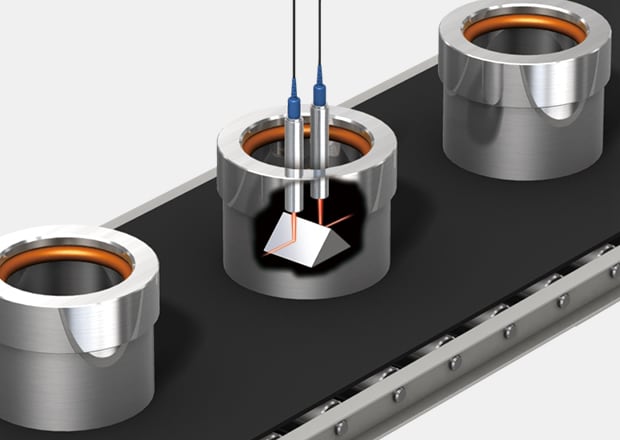
Measurement of Inner Diameter of a Cylinder Shape
Hole diameters are measured by bending the optical axes of two sensor heads 90° using a prism.
The laser beams travel parallel through the center of the hole and strike prisms to reflect on to opposite inner walls. The workpiece can be rotated to measure roundness and eccentricity.
What Is Outer Diameter Measurement?
Outer diameter (OD) is the distance from one outside edge of a cylinder to another when traced directly through the part's center.
Outer diameter measurements check the total width of a cylinder (including its walls) and are important for a wide variety of applications. For example, OD measurments are often used when a cylinder must fit inside another object, when parts are clamped/attached, or to simply confirm the size and space of an object.
How to Measure Outer Diameter
Like ID measurements, OD measurements were traditionally done using hand tools. In both cases, measurement sensors (like laser scanners) provided faster and more reliable measurements. However, some sensors are better at performing OD measurements than they are at taking ID measurements.
Finding the Right Solution for Outer Diameter Measurements
When looking for the best way to measure outer diameter, there are several important factors to consider, including the shape of the target, the type of measurement system, and the installation environment. Selecting equipment that doesn't adequately meet your needs can lead to insufficient precision and increased man-hours during production, so choosing the right equipment is important. This site is designed to help you discover the best way to perform outer diameter measurements with confidence.
Outer Diameter Measurement Examples:
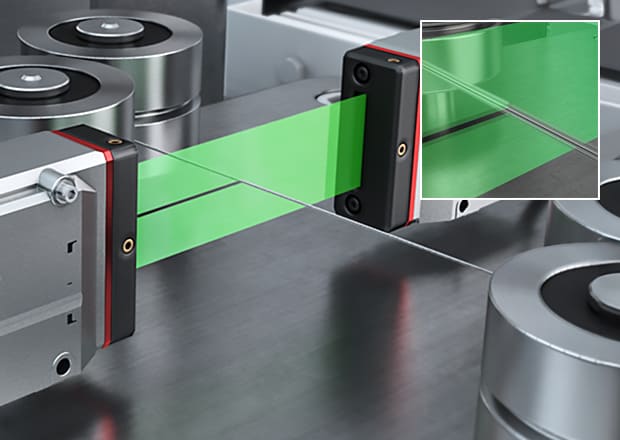
Wire Outer Diameter Measurement After Wire Drawing
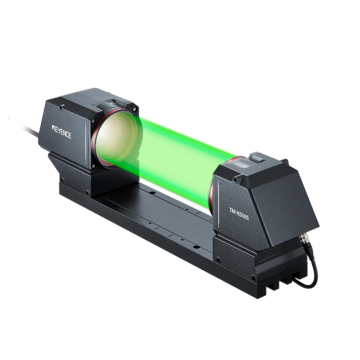
The target is passed through a beam of collimated light to measure the size of its shadow.
Outer diameter can be measured to high precision by selecting the measurement system best suited to the target diameter.
A faster sampling cycle ensures stable measurement even if there is target run-out.
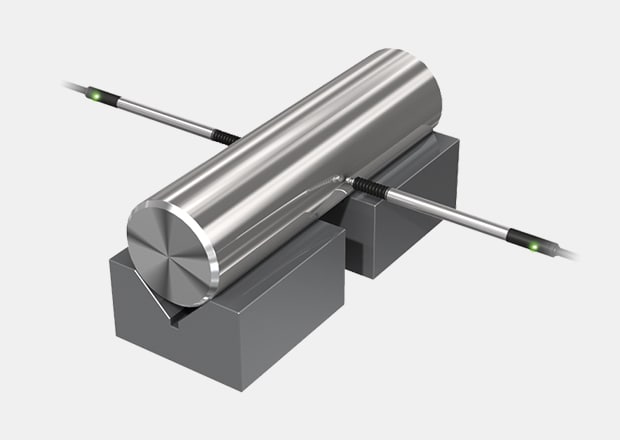
Shaft Outer Diameter Measurement
Check outer diameter on machined parts without influence from oil or other surface contamination
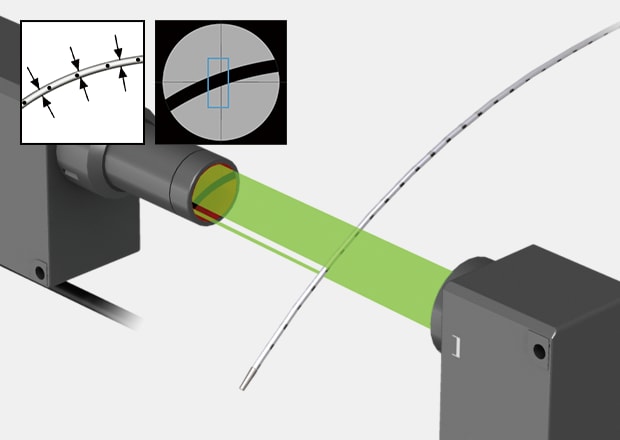
Catheter Outer Diameter Measurement
The Telecentric Measurement System uses 2D images of a target’s silhouette to measure diameter. Target misalignment or tilt is automatically corrected for, making it simple to get accurate measurements without perfect fixturing.
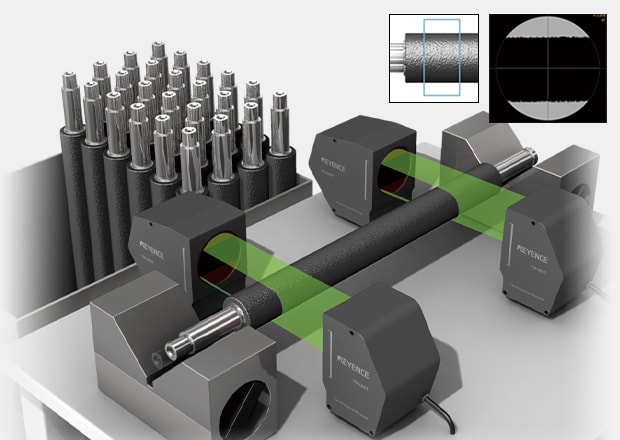
Compressible Material Outer Diameter Measurement
Compressible or rough surfaces can be accurately measured using the 2D image generated by the Telecentric Measurement System.
Implementing non-contact measurement eliminates error due to part deformation and any variation in diameter due to surface texture can be averaged over to stabilize results.
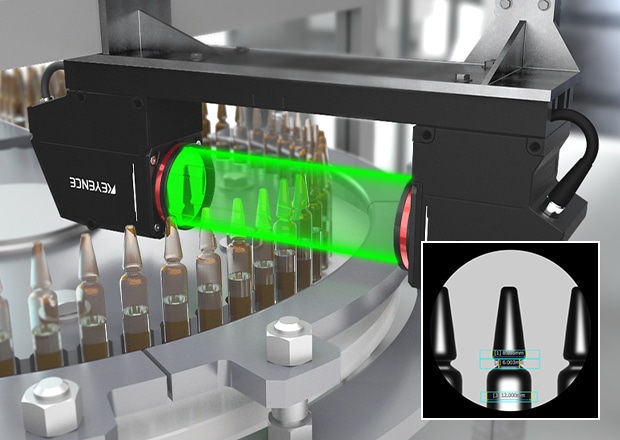
Vial Minimum and Maximum Outer Diameter
Using 2D measurement systems makes it possible to measure the minimum and maximum diameter of a target from a single captured image. The TM-X Series works by capturing the silhouette of a target using a telecentric optical system, so it can accurately measure objects of any material (including clear vials).
Even if the target is tilted, outer diameter can be measured accurately by utilizing the position correction function.
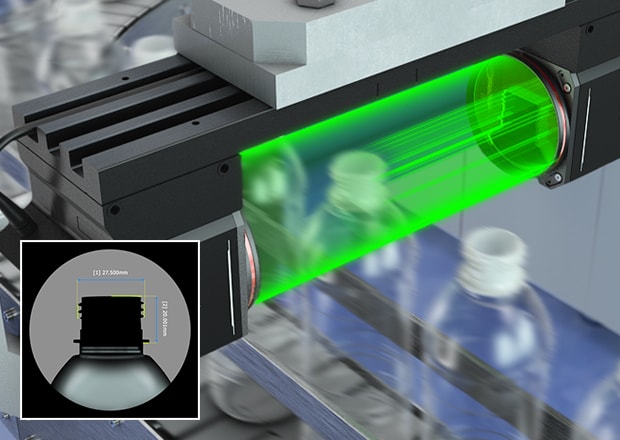
Bottle Top Diameter Measurement (At High Speed)
With an exposure time of just 100 µs, the Telecentric Measurement System can capture clear images of targets moving at high speed. This makes it an ideal solution for accurately measuring diameter inline.
What Is Radius Measurement?
In most cases, radius measurement is gained using traditional tools to measure the inner diameter and the d=2r formula to derive the radius measurement. It features the same drawbacks as other manual techniques used for inside diameter measurements. Optical methods like outer diameter measurement sensors provide much faster and more reliable radius measurements than the traditional measurement approach.
How to Measure Radius (R)
The radius of a cylinder is defined as the distance from its center to any point on its edge, and it’s a linear measurement that extends from the center of the circumference. Since the OD measurement is defined as a straight line passing through the center of the cylindrical space and connecting both sides, we can easily deduce that the radius is ½ of the diameter.
Conversely, the ID measurement is twice the radius of the inner circle. Radius measurements are rather important when it comes to determining the mechanical properties of parts such as gears, wheels, and pulleys.
Find the best measurement method and the right equipment to measure "Radius (R) and Inner Diameter."
Finding the Right Solution for Radius Measurements
When looking for the best way to measure radius (R), there are several important factors to consider, including the type of measurement system and the installation environment. Selecting equipment that doesn't adequately meet your needs can lead to insufficient precision and increased man-hours during production, so choosing the right equipment is important. This site is designed to help you discover the best way to perform radius measurements with confidence.
Radius Measurement Example:
Radius (R) Measurement
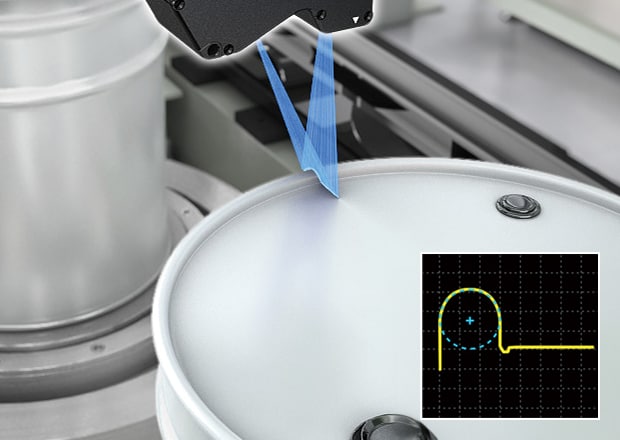
The line laser irradiates the target and obtains a profile of the surface from which to calculate radius.
By using 2D measurement, radius (R) can be measured directly without having to calculate the approximate R externally based on individual point data.
Interested in improving your measurement processes? Check out KEYENCE today!
We’re here to provide you with more details.
Reach out today!

Related Downloads
![Measurement Application Guide [Outer/Inner Diameter Measurement]](/img/asset/AS_55847_L.jpg)
Offering a wealth of tips on inner and outer diameter

The LS-9000 Series does so much more than just solving conventional outer diameter measurement problems. See this booklet for the advantages of the high-intensity green LED light source and introductions of useful functions not available in the catalog or online.
Applications
Dimension Measurement
- Thickness and Width Measurement
- Step Height Measurement
- Inner and Outer Diameter Measurement
- Measuring Angles
- Meandering/Edge Measurement
Displacement Measurement
- Positioning and Stroke Length Measurement
- Vibration and Runout Measurement
- Deflection Measurement
- Measuring Eccentricity

