Measurement Sensors
Dimension Measurement
Displacement Measurement
Ensuring Precision in Automotive Assembly Lines with Laser Scanners

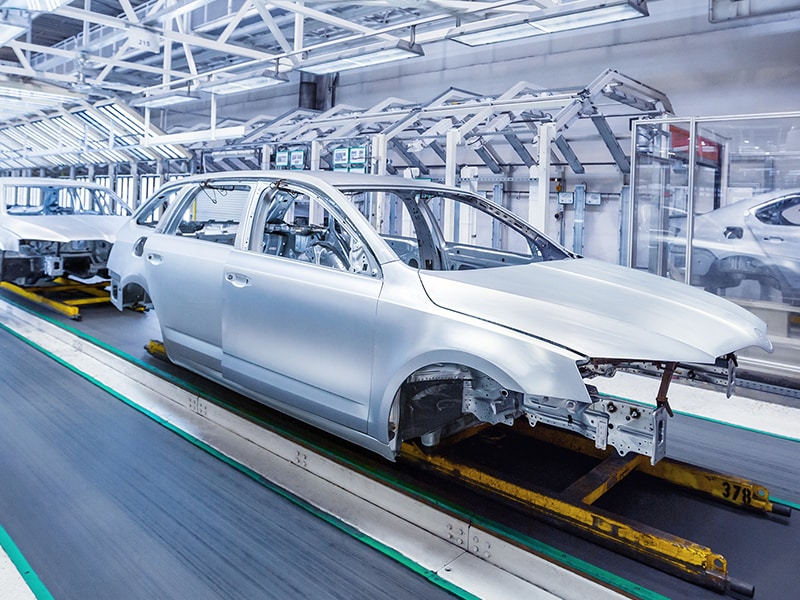
Laser scanners have numerous applications in the automotive industry. From design to inspection, many automotive manufacturing processes rely on laser scanners for accurate measurement.
While there are traditional ways of carrying out automotive assembly inspection, laser scanners offer superior functions. They can be used to capture parts and components digitally with high precision.
Understanding Automotive 3D Scanning Technology
Before the development of laser scanners for automotive applications, single-point measurement instruments — such as micrometers, mechanical probes, and dial indications — were common. However, they were labor-intensive, time-consuming, prone to human error, and unable to meet the demands of contemporary vehicle assembly.
Today, laser scanners can capture millions of discrete data points using reflected light. They don't need to be in contact with objects being measured and can rapidly process data. Detailed 3D images produced can then be used at different stages of assembly.
We’re here to provide you with more details.
Reach out today!

Applications of Laser Scanners in Automotive Assembly Lines
With advancing technology in laser scanners for automotive applications, designers and engineers can now digitally scan and measure prototypes and models faster with high precision. Below are some applications of automotive scanning in automotive assembly lines.
Quality Control
Laser scanners are used to inspect automotive components such as engine parts, interiors, and body panels. Laser technologies can be used to get accurate measurements and high-resolution images, which manufacturers can then compare to the original design to see if there are any defects or deviations from specifications.
One example of a laser scanner for automotive applications is the laser profiler. This 2D laser is used in quality control to verify dimensional accuracy and surface quality. For instance, it can be used to check the accuracy of the height, length, and width of car doors, hoods, and trunk lid. Inconsistencies in dimensions can lead to issues affecting the appearance and functions of a vehicle or component.
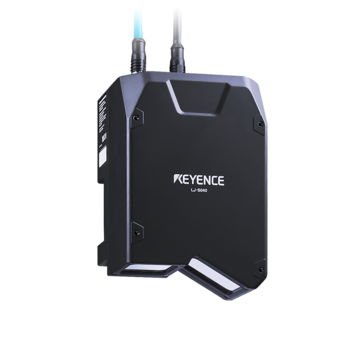
The KEYENCE’s LJ-X8000 Series is a laser profiler that can perform both 2D and 3D measurements and inspections. It can accurately measure the target's shape and create high-quality images, with its maximum laser linewidth reaching over 720 mm. It's also designed to measure both reflective and absorptive surfaces, making it easy to inspect just about any part.
This precision measurement offered by laser scanners and sensors helps automotive manufacturers to maintain quality standards.
Minimizing Production Errors
Production errors can lead to inefficiency, waste of resources, and many more problems in an assembly line. With laser scanners, engineers can quickly detect imperfections and deviations from original models.
They can then go back to the drawing board and use the new information provided by the scanner to make needed corrections. Such insights can help eliminate production errors before parts and vehicle assembly.
Reverse Engineering
With new information comes new understanding. Engineers may have to analyze existing designs to see if certain parts need to be modified. Instead of starting from scratch, manufacturers use 3D laser scanners to recreate the design. They can then make the necessary improvements, modifications, or reproductions.
Discover more about this product.
Click here to book your demo.

Factors to Consider When Selecting Laser Sensors for Automotive Inspections
Choosing the right laser sensors for an automotive assembly inspection depends upon several factors. These criteria include (but are not limited to): component size/shape, 2D/3D requirements, and ease of integration.
Component Size/Shape
The first step is to identify and group parts or assemblies requiring inspection. Next, you need to identify scanning technology that can give the desired level of accuracy.
For example, when planning to inspect chassis components (such as axles and suspension parts), or engine parts (such as cylinder heads and cylinder blocks), laser displacement sensors might be sufficient. These 1D laser sensors can measure a part’s shape, flatness, position, and surface finish.
2D/3D Consideration
While this requirement seems to overlap with the previous point, there’s a nuanced difference. There are instances where both 2D and 3D laser scanners would work fine for the same inspection task. In cases where functionality is not a concern, the choice between 3D laser scanners vs. 2D laser scanners can be based on side attractions, such as which one would save the most time and resources, etc.
Ease of Integration
Laser scanner technology should smoothly integrate with existing systems or other inspection software. The ability to connect a laser scanner with existing inspection setups makes for automated data processing, and helps reduce or eliminate human errors.
High precision can be achieved in automotive assembly inspection when the necessary factors have been thoroughly considered.
KEYENCE’s measurement sensors for the automotive manufacturing industry are all reliable options for precise measurements and inspections. These systems can be used at every stage of automotive assembly; from body panel, weld seam, paint quality, and chassis component to interior component inspection. KEYENCE laser sensor and scanner solutions boast high standards that lead to high-precision inspection efforts.
Have any questions about KEYENCE’s line of automotive sensor systems? Contact us today.
Contact us to learn more about how our advanced technology can help take your business to the next level.
Contact Us
Related Downloads
Related Products
Applications
Dimension Measurement
- Thickness and Width Measurement
- Step Height Measurement
- Inner and Outer Diameter Measurement
- Measuring Angles
- Meandering/Edge Measurement
Displacement Measurement
- Positioning and Stroke Length Measurement
- Vibration and Runout Measurement
- Deflection Measurement
- Measuring Eccentricity

![Automated Measurement and Inspection Examples [Tires]](/img/asset/AS_138531_L.jpg)


