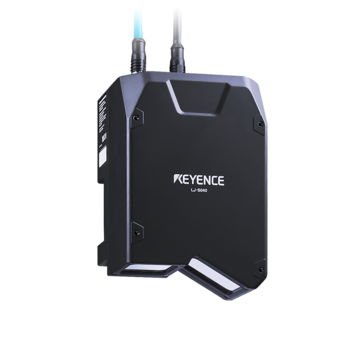
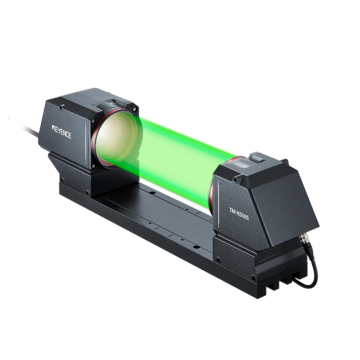
Measurement Sensors
Dimension Measurement
Displacement Measurement
Plastic Injection-Molded Part Inspection
Manufacturers rely on plastic injection molding to produce complex components at scale, but maintaining consistent quality across every injection-molded part is a challenge. Even minor inconsistencies in size, shape, or surface finish can cause assembly failures or product defects, which all lead to an increase in waste and costly rework.
Real-time measurement systems, automated vision inspection, and non-destructive testing allow for precise detection of common issues and prevent defective injection-molded plastic components from entering the supply chain.
We’re here to provide you with more details.
Reach out today!

Why Quality Control is Critical for Consumer Products
The primary goal of quality control in injection-molded plastic parts is to maintain conformity and quality; it involves a painstaking inspection of plastic parts to identify defects. Small variations in size or structure can lead to improper fit and reduced product life. Additionally, inconsistencies in appearance and any defect that affects the final assembly can result in delays, increased costs, or dissatisfied customers.
By incorporating inspection systems into production workflows, manufacturers gain greater control over product consistency as real-time monitoring ensures that each plastic injection-molded component meets dimensional requirements. Inspection technology also minimizes unnecessary material waste and production slowdowns, allowing manufacturers to streamline operations without sacrificing quality.
Common Defects in Injection-Molded Plastic Components
Even in controlled production environments, defects in plastic injection-molded parts can still occur. Size variations can prevent proper assembly, while surface imperfections affect both function and appearance. Flash, a common defect where excess plastic forms along mold parting lines, often results from improper pressure settings. Sink marks and voids develop when material shrinks unevenly during cooling, leaving depressions that can weaken structural integrity.
Weld and flow lines appear when molten plastic doesn’t bond smoothly, creating visible surface patterns. Overheating during molding can cause burn marks or discoloration, altering both appearance and material strength. Internal or external stress can also lead to cracking and crazing, which weakens the final component.
A thorough inspection in manufacturing is a necessary step in quality control as each of these defects compromises the reliability of injection-molded plastic parts. Early detection through automated measurement and real-time monitoring prevents defective parts from reaching final production.
We’re here to provide you with more details.
Reach out today!

Inspection Methods for Plastic Injection-Molded Parts
Dimensional measurement plays a key role in confirming that every part meets exact size and shape requirements.
- High-precision sensors and laser-based measurement tools allow manufacturers to monitor tolerances and detect deviations that could lead to assembly issues.
- Automated vision inspection systems, including 3D laser profilers, provide three-dimensional scanning and digital microscopy which allows manufacturers to detect inconsistencies at the submicron level, verifying that even the smallest variations are identified and addressed.
- Non-destructive testing methods, including pressure analysis and X-ray imaging, provide further verification without damaging the part; other non-destructive testing includes thermographic analysis and acoustic emission testing.
Improving Inspection Processes for Better Production Outcomes
The most effective inspection processes are those that integrate into existing production lines and allow for real-time defect detection and immediate corrective actions.
Automated inspection systems eliminate the delays associated with manual quality control by identifying inconsistencies as they occur and prevent defective parts from progressing further in production; these inspection methods can also help maintain tight tolerances in plastic injection-molded parts.
Continuous data collection gives manufacturers the ability to refine molding parameters. This helps improve processes based on real-time insights rather than reactive adjustments, and advanced measurement technologies, like 1D displacement sensors, help guarantee that all plastic injection-molded parts adhere to strict quality standards. Manufacturers who take this proactive approach to quality control see fewer defects, less downtime, and more consistent production.
Optimize Your Plastic Injection-Molded Part Inspection Today!
KEYENCE offers precision sensors and laser measurement systems that work to help manufacturers identify early defects in injection-molded plastic parts. These solutions use real-time monitoring and non-destructive testing, which fit easily into existing production lines and minimize waste while improving efficiency. They also reduce waste and excessive costs brought on by rework.
If you’re interested in amplifying the accuracy and reliability of your injection-molded part inspections, partner with KEYENCE today. We have representatives standing by to guide you through our solutions and find the right fit for you!
Contact us to learn more about how our advanced technology can help take your business to the next level.
Contact Us
Related Products
Applications
Dimension Measurement
- Thickness and Width Measurement
- Step Height Measurement
- Inner and Outer Diameter Measurement
- Measuring Angles
- Meandering/Edge Measurement
Displacement Measurement
- Positioning and Stroke Length Measurement
- Vibration and Runout Measurement
- Deflection Measurement
- Measuring Eccentricity

